About the Client
In 2016, Clever Solution undertook a project for startup development. We had to build a US car leasing and selling platform. At the beginning of the project it was assumed that the team would grow, so we needed to think about the expansion and convenience of developers’ work in advance. Also, we had to instantly respond to the customer’s expectations for the quick implementation of the requested features.
The project development took five years. The overall process can be divided into two iterations. The first two years were spent researching the US leasing market. Over the remaining three years we built a working prototype for implementing business logic.
In this case study, we will return to 2016 and share our experience of undertaking and deploying the project. Like many other software development teams familiar with the accelerated startup building workflow, we realized the importance of optimizing different processes with automated tools, to not waste time on manual work.
The Challenge
When Clever Solution undertook the project in 2016, a regular AWS instance with manually installed extensions and modules was used as the server infrastructure. Our team had to create an environment similar to a production server on a local machine. This task is quite doable if you need to install several utilities. But if auxiliary extensions are needed for each utility, you need to make dozens of installations, which is tedious and time-consuming.
It took Clever Solution a week to deploy the project, even though we collaborated with a colleague who was aware of the infrastructure composition and the required modules. Yet at that stage, we realized the ineffectiveness of the approach we were using. It was obsolete and didn’t provide sufficient scalability.
We decided to find alternative solutions, and considered the two most popular options, Vagrant and Docker. We decided to go with Vagrant due to its simplicity. We began to study its features and options, keeping in mind the following tasks:
- Eliminate the need to keep in mind all the elements of the server infrastructure
- Fully automate the project deployment for new developers
- Reduce deployment time from one week to four hours
- Solve the scalability problem. Once a new module is installed on the server, developers should be able to get the configuration and activate the module at the click of a button
The Solution
Where to Start?
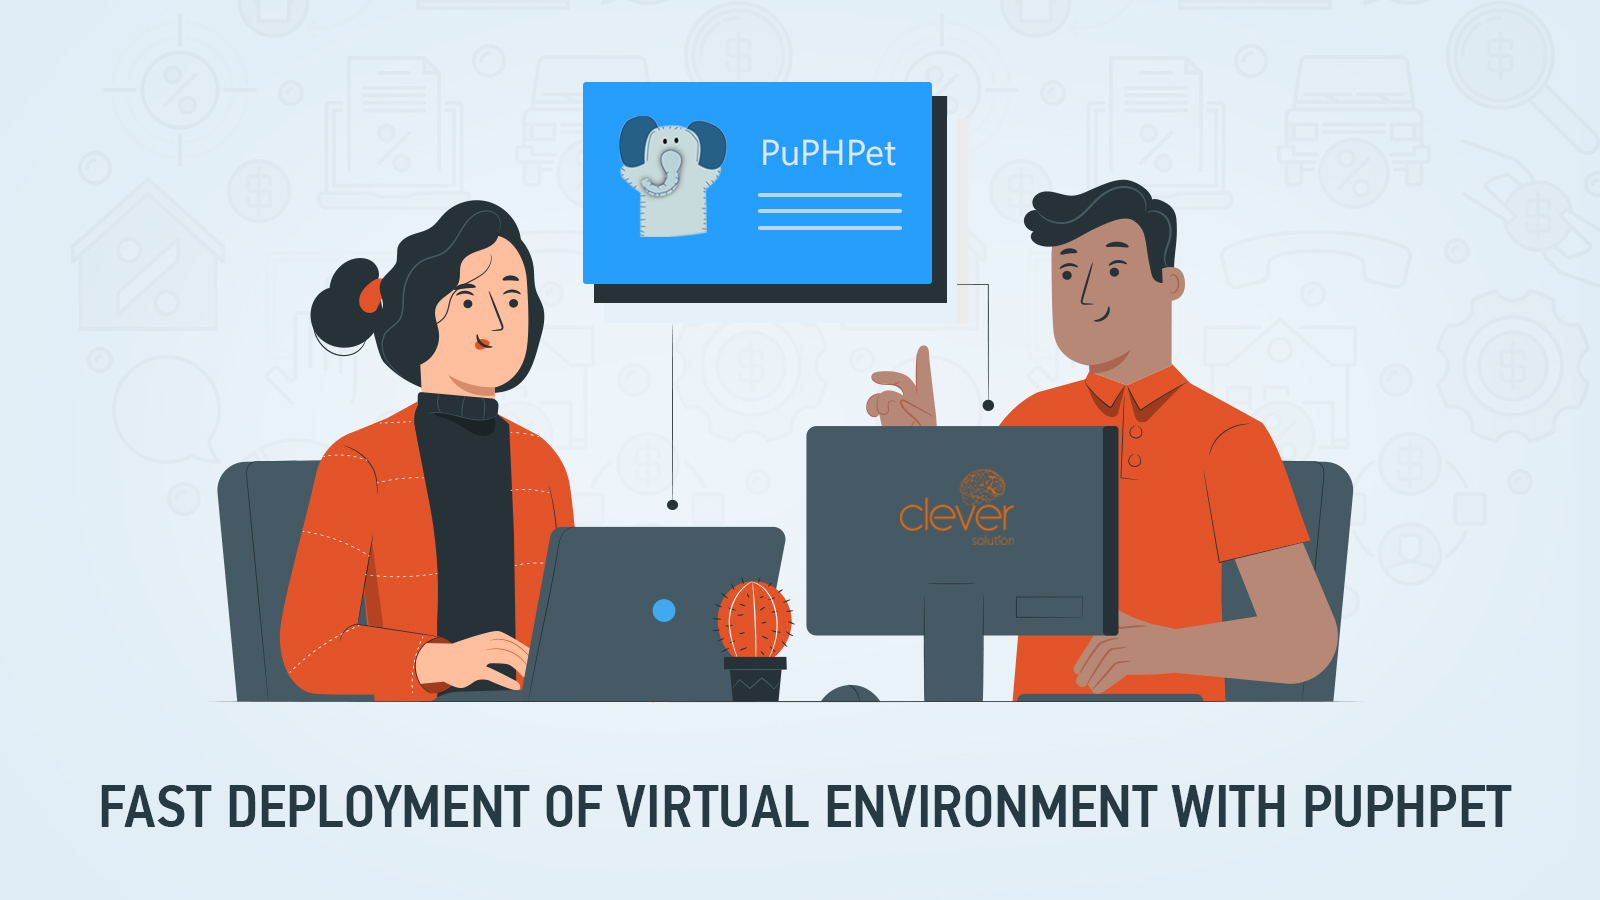
The toughest part of any job is getting started, especially when you don’t know how to take the first steps. Happily, this was not the case for Clever Solution. We found a helpful video course where the instructor created an environment with the PuPHPet tool in the early phases of the project. PuPHPet is a GUI configurator for the Vagrant automation tool that uses Puppet as the provisioning backend.
It would be foolish to write configs from scratch in pure Ruby, especially if you are not familiar with this language. It seemed more logical to use an additional abstraction in the form of a GUI. The beauty of this option is that you just specify the required server elements, and PuPHPet does everything else automatically.
In general terms, we will describe the steps that were taken to make the project work.
The Basis
Clever Solution had to build an environment that could be used by software developers on local machines. But PuPHPet also allows for using hosting services by popular platforms like AWS and Digital Ocean.
A virtual machine was at the core of our server, so we had to choose a provider. We decided on VirtualBox for its affordability. Ubuntu 14.04 was launched at first as an operating system. A couple of years later, we shifted to version 16.04. Vagrant perfectly rebuilt the environment by executing a single command, making the OS update extremely easy.

The Superstructure
The next steps were to add all the utilities necessary for the system to run smoothly, and to select a server and programming languages. Intentionally, we didn’t install the database, since it made more sense to transfer ports from the virtual machine to an external database installed on the local machine. This accelerated the system’s work.
The Config is Ready
In less than five minutes, we sketched an approximate config and were ready to download it. Find the installation instructions in the screenshot below.

Deployment

We downloaded the archive, unpacked it to the root of the project, and renamed the folder to PuPHPet. Our Vagrantfile was placed at the same level as PuPHPet, which allowed us to receive commands from the console at the root of the project.
We opened the project, executed the vagrant up command, and just waited to see what would happen:
- The so-called box, the image of the necessary system, was uploaded from Vagrant Cloud internal servers. Note: this is one of Vagrant’s sources of income – they offer you their services in case you want to implement your own private architecture as a custom image.
- After the image was uploaded, the installation of related utilities began.
- Done! A green message in the console indicated successful completion of the operation.
Next, we went to the hosts file and prescribed the IP address we specified in the settings earlier.

We received the following record: 192.168.56.101 yourproject.local and saved the file.
All that remained was to configure the project. Since we used the MySQL database, we had to locate the host at 10.0.2.2, to transfer requests from Vagrant to an external local machine. This was specified in configs for connecting the project to the database.
Basically, that’s it. We went to yourproject.local address and saw the index.php file located at the same level as Vagrantfile.
Was it really that easy?
Of course, everything was not so easy. We deployed the project without problems, as did the development team that worked on it concurrently with us. But after half a year, the third team faced problems. Some repositories of related utilities stopped running, and Vagrant regarded this as an error.
The problem arose due to two-stage server image formatting. The source box from the Vagrant Cloud server was formatted first, followed by everything that was installed later.
But why should every developer have to build the system from scratch when they can export a ready-made assembly into a custom image and place it on the Vagrant Cloud server? This is probably the most pleasant stage of work. For about 30 minutes, Vagrant exports the image. Then you calculate the image’s md5 hash and upload the box to the Vagrant Cloud server via their web interface. Specify the hash for authentication, so that Vagrant knows it was you who downloaded the image, not someone else.
After downloading, Vagrant will provide you with a unique ID for your box, and you can register it instead of the original “ubuntu-16.04.”
Note: it’s not enough just to download the image – you also need to release (activate) it.
Results/Achievements
After all the above-mentioned steps, the installation process boils down to downloading your box and installing only those packages that are lacking in the basic assembly.
Once every couple of months, Clever Solution rebuilds the box and uploads it as a new image version. This approach significantly accelerates the installation process. We download new versions of the project’s server image in 30 minutes, receiving the same development environment as other developers on the team, and we are ready to work.